How to upload Attachments to a property
All the documents related to a property can be attached to the property file. This way we will have all the information together and available in one place. Follow these steps to find out how to do it.
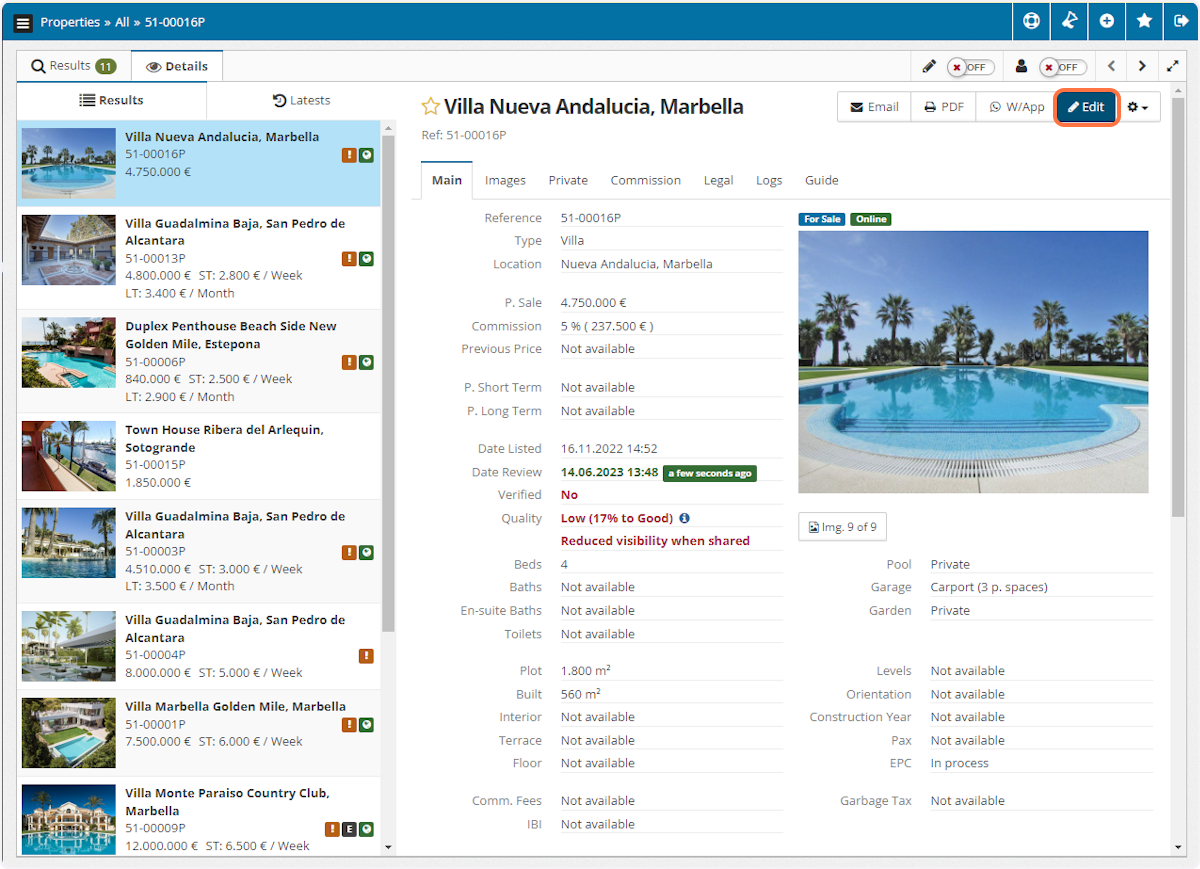
A. In the Properties section click on the property you want to edit.

B. Click on Edit
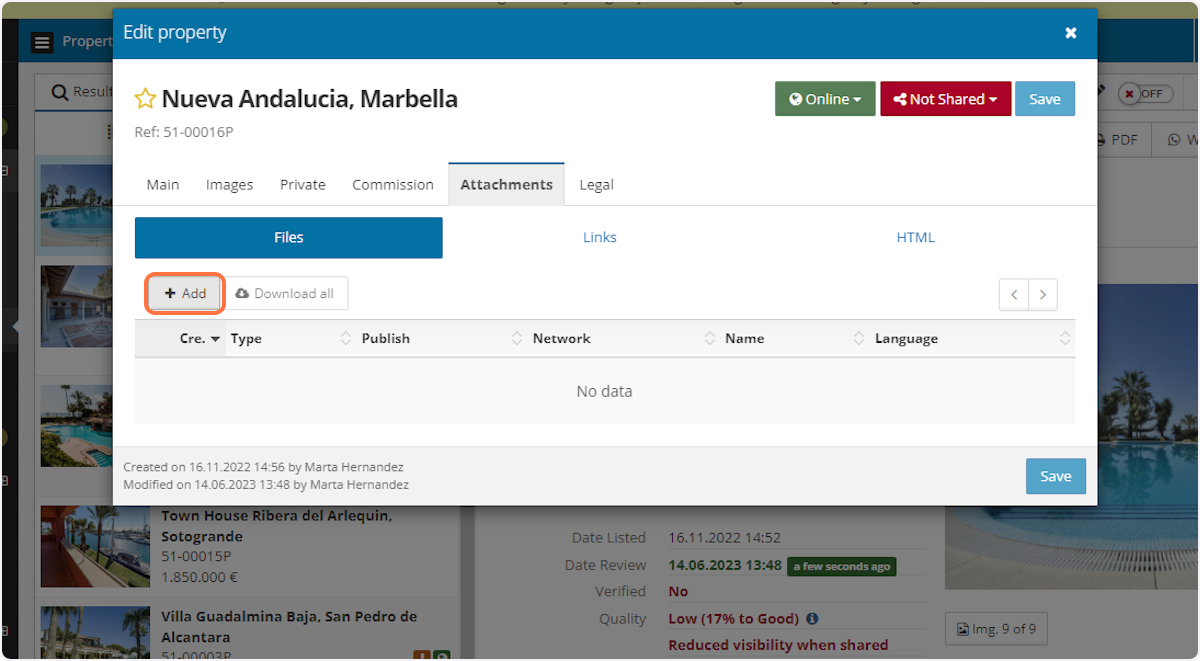
C. Go to the Attachments tab

D. Click on Add
E. You can drag and drop the attachments or click on the striped area to browse your computer and select the attachments.

F. The file will be automatically uploaded
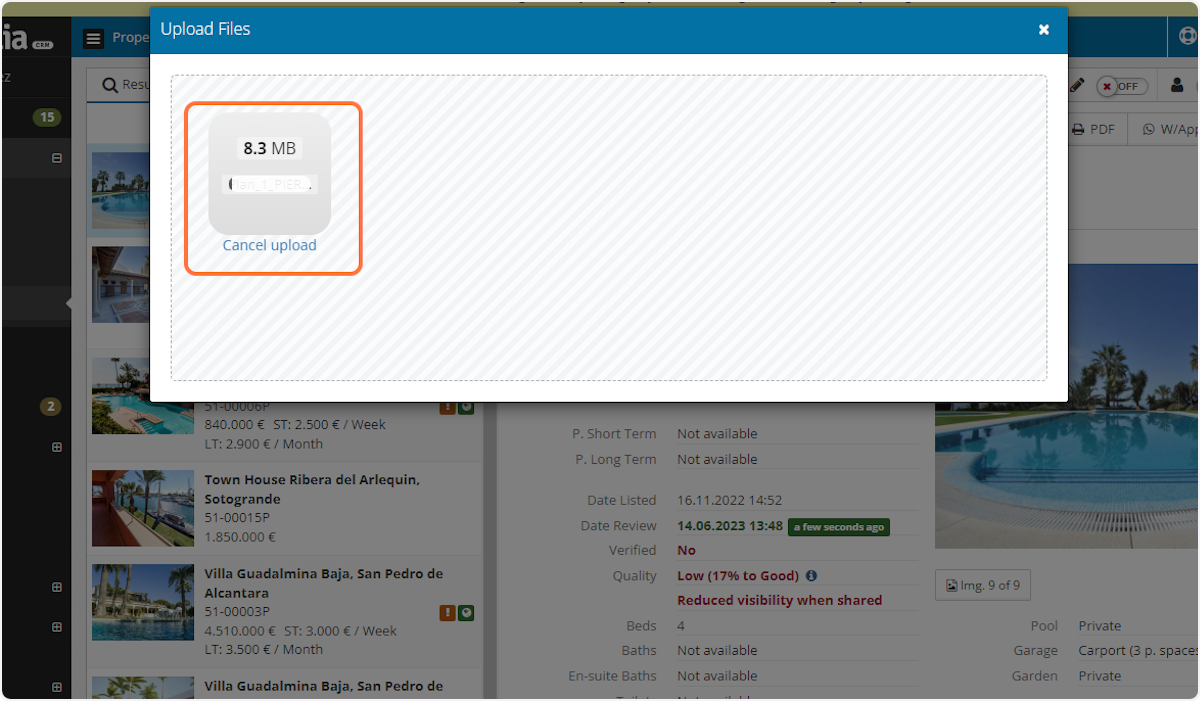
G. When the uploading is finished close the uploading window and click on the attachment line to edit it

H. You can edit the name of the attachment

I. Select the attachment type from the drop-down list
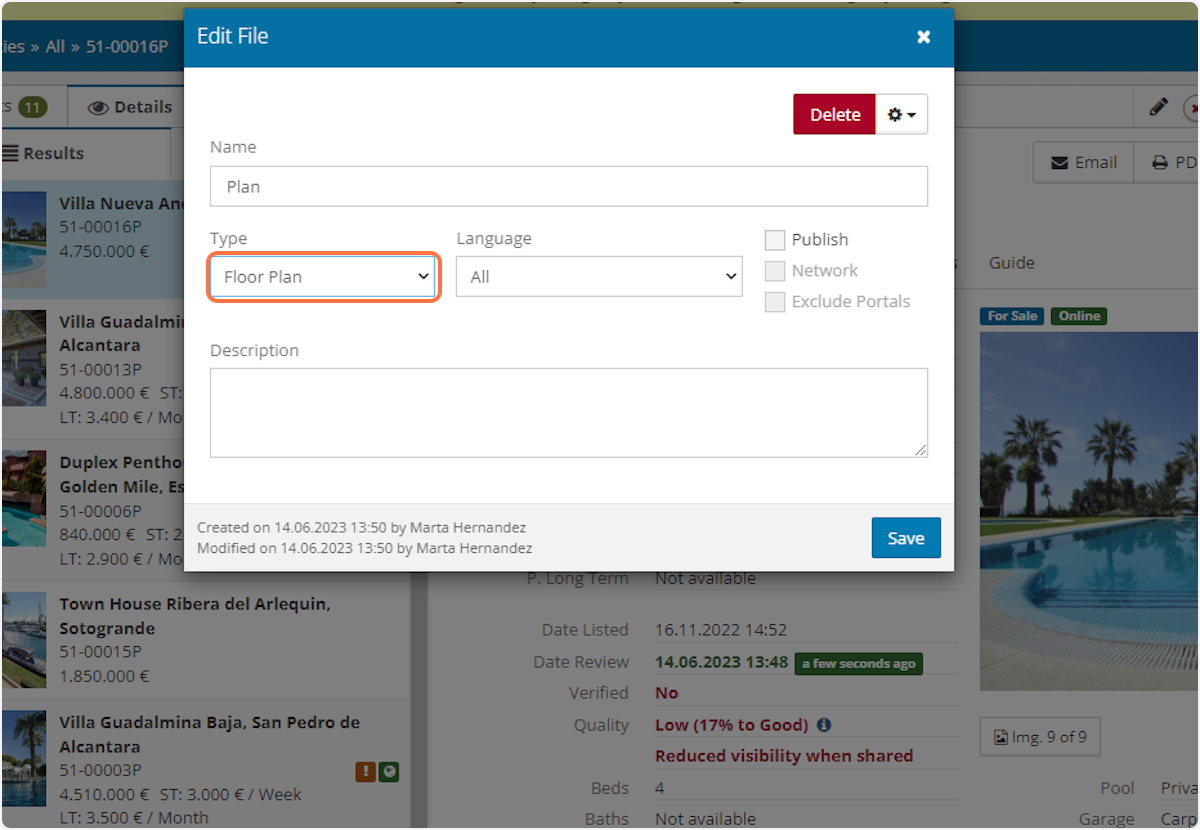
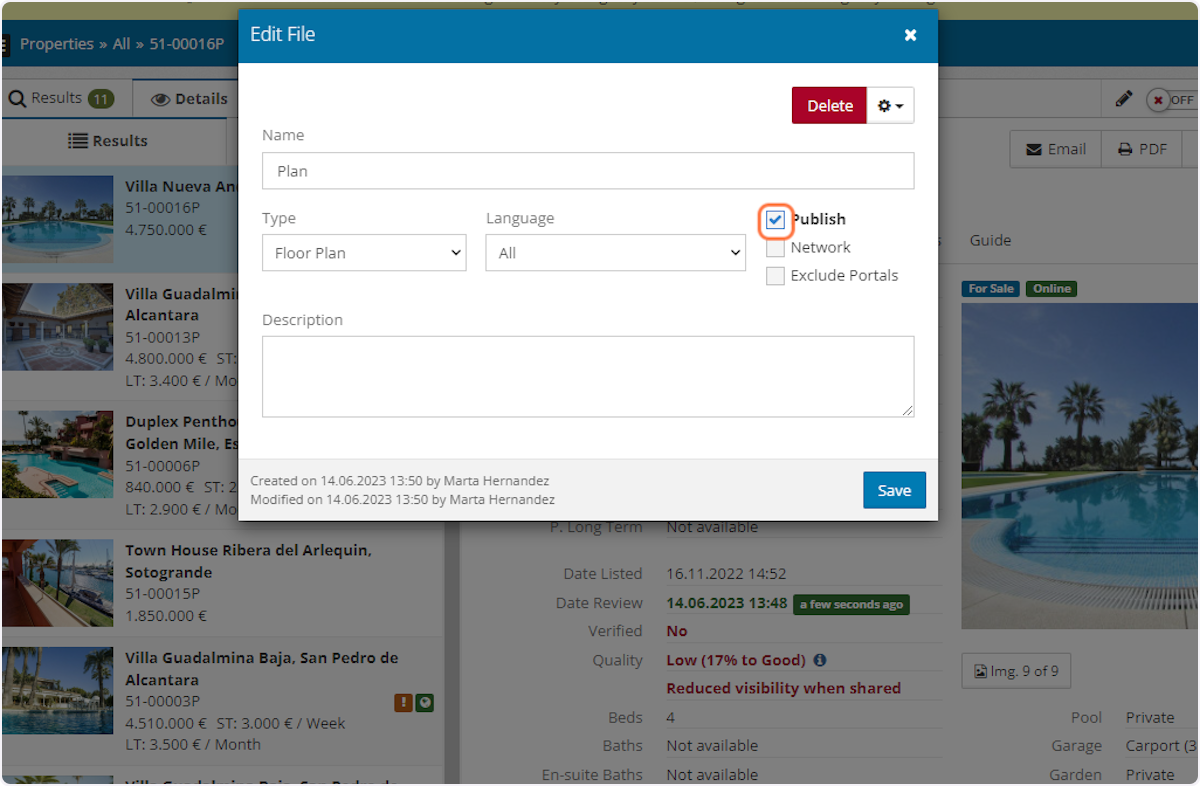
J. If you want the attachment published in your website and portals check Publish
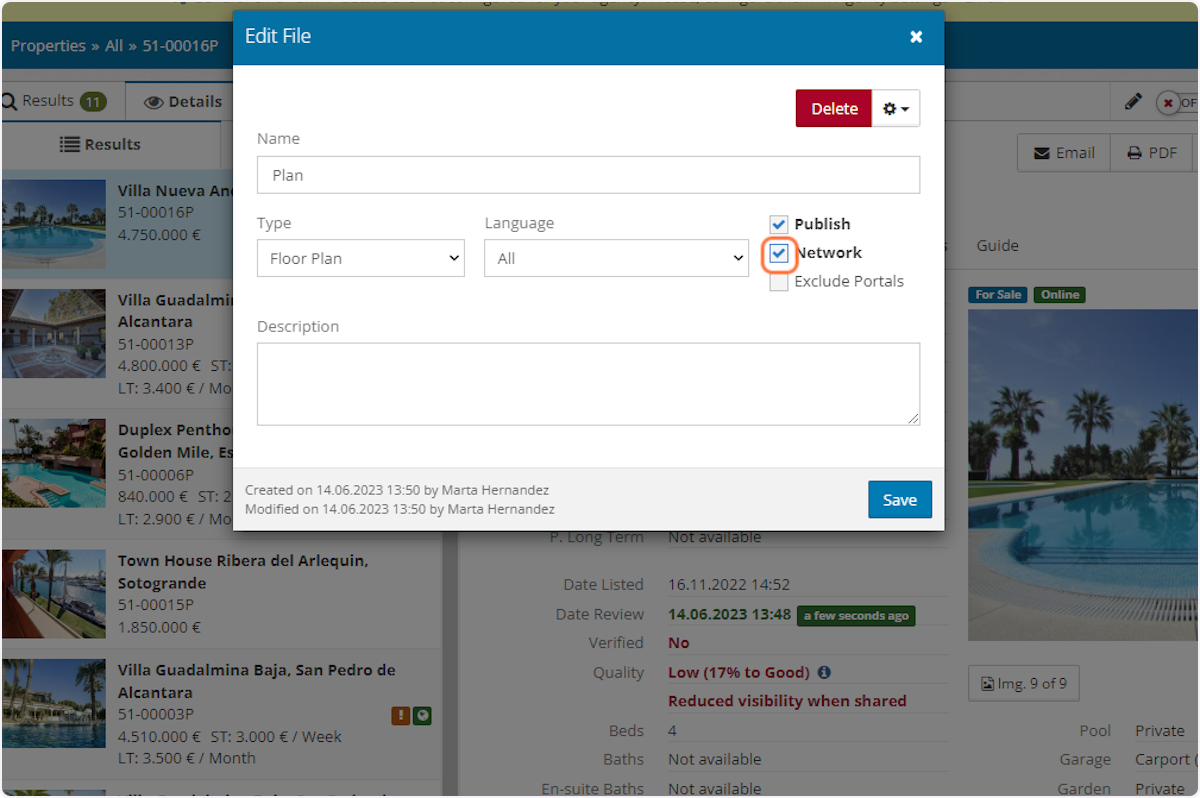
K. If you share the property in the Network and you want to make visible the attachment for all the agencies just check Network
L. You can also inform the language of the attachment

M. Finally, click on Save

